The Toyota Corolla has earned a reputation for reliability and longevity, but even the most dependable vehicles require maintenance from time to time. One of the most common maintenance tasks you can perform yourself is changing the car battery. Luckily for you, this is today's exact topic - here is how to change a battery in a Toyota Corolla from 2012 or newer (11th and 12th generation).
Tools and Materials You'll Need:
- New car battery (make sure it's the correct size and type for your Corolla)
- Socket wrench set
- Combination wrench set
- Safety goggles and gloves
- Battery terminal cleaner or baking soda
- Wire brush
- Corrosion-resistant grease or terminal protector spray
- Battery terminal brush or cable cleaner tool
- Battery hold-down clamp (if necessary)
- Safety stands or a jack (if needed)
Step 1: Safety First!
Before you begin, ensure your Corolla is parked in a safe location with the engine turned off. Put on safety goggles and gloves to protect yourself from any battery acid or corrosion.
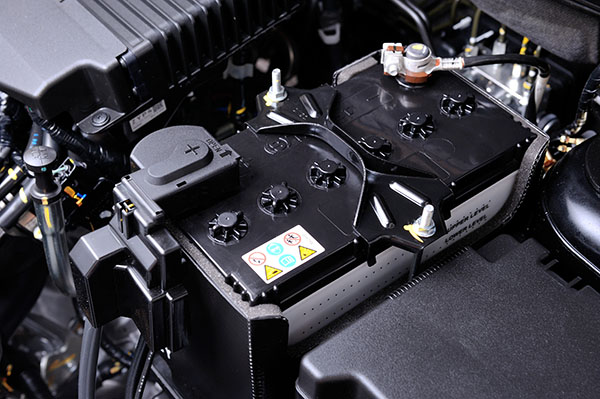
Step 2: Locate the Battery
The battery in a Toyota Corolla is typically located in the engine bay on the driver's side. It's a rectangular-shaped black or gray box with two cables (positive and negative) connected to it.
Step 3: Remove the Battery Cables
Using a socket wrench or combination wrench, start by loosening the nut on the negative (black) cable terminal. Once it's loose, carefully wiggle and lift the cable off the terminal. Do the same for the positive (red) cable.
Step 4: Remove the Battery Hold-Down
If your Corolla has a battery hold-down clamp securing the battery in place, use a wrench to remove the bolt holding it down. Take off the clamp and set it aside.
Step 5: Take Out the Old Battery
Carefully lift the old battery out of its compartment and place it aside. Be cautious; car batteries can be heavy, so use proper lifting techniques.
Step 6: Clean the Battery Terminals
To ensure the proper functioning of your battery, it is necessary to inspect the battery terminals and cables regularly. In case you notice any corrosion, which appears like a white, powdery substance, mix baking soda and water to create a paste. Use a wire brush or a terminal cleaner to scrub it off, and then rinse with water. Finally, dry it thoroughly to avoid any damage.
Step 7: Install the New Battery
Carefully place the new battery into the battery compartment, ensuring it's oriented correctly. Attach the battery hold-down clamp if your Corolla has one.
Step 8: Reconnect the Battery Cables
Starting with the positive (red) cable, attach it to the positive terminal on the new battery and tighten the nut securely. Then, connect the negative (black) cable to the negative terminal in the same manner.
Step 9: Apply Terminal Protector
To prevent future corrosion, apply a thin layer of corrosion-resistant grease, or terminal protector spray to the battery terminals.
Step 10: Time for a Test
Turn on your Corolla and check that all electrical systems are functioning correctly. If everything works as it should, you've successfully replaced the battery.
If you are having issues with the process, we don't blame you - after all, that's why we are here! Contact Torque Automotive LLC and book an appointment so we can take care of everything that needs attention.